1. 3D to 2D
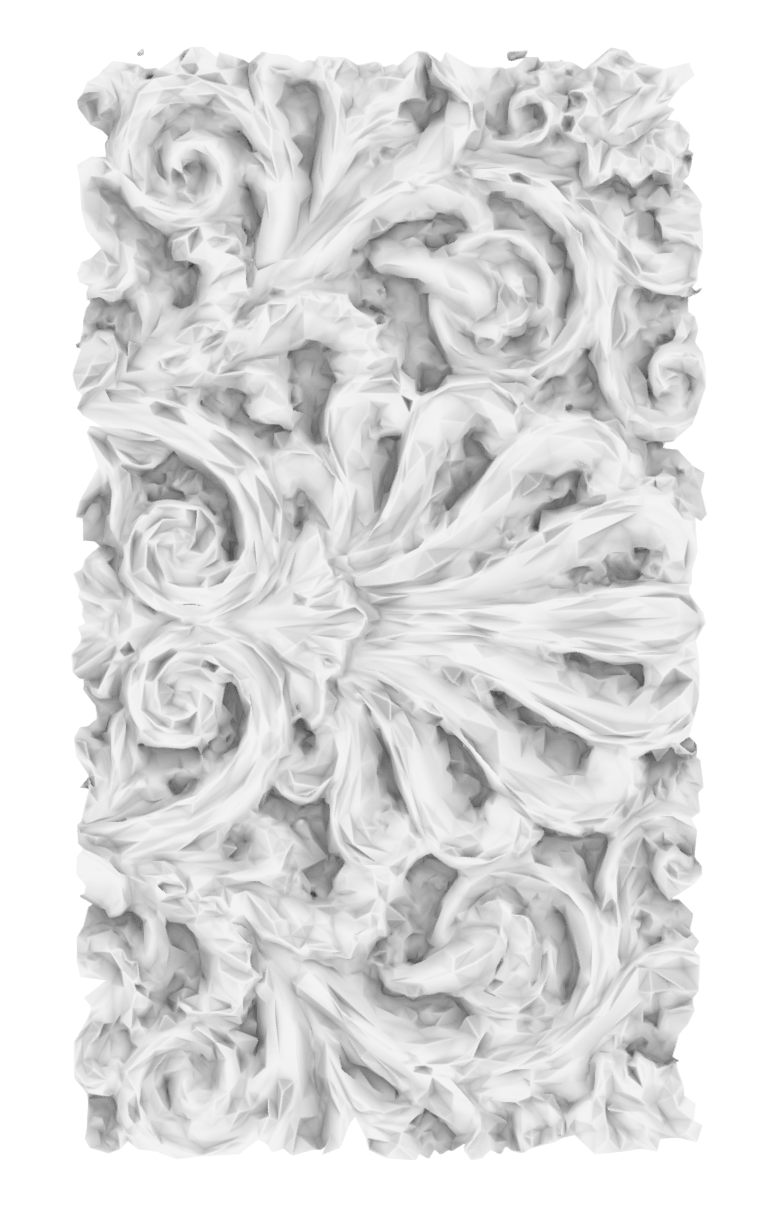
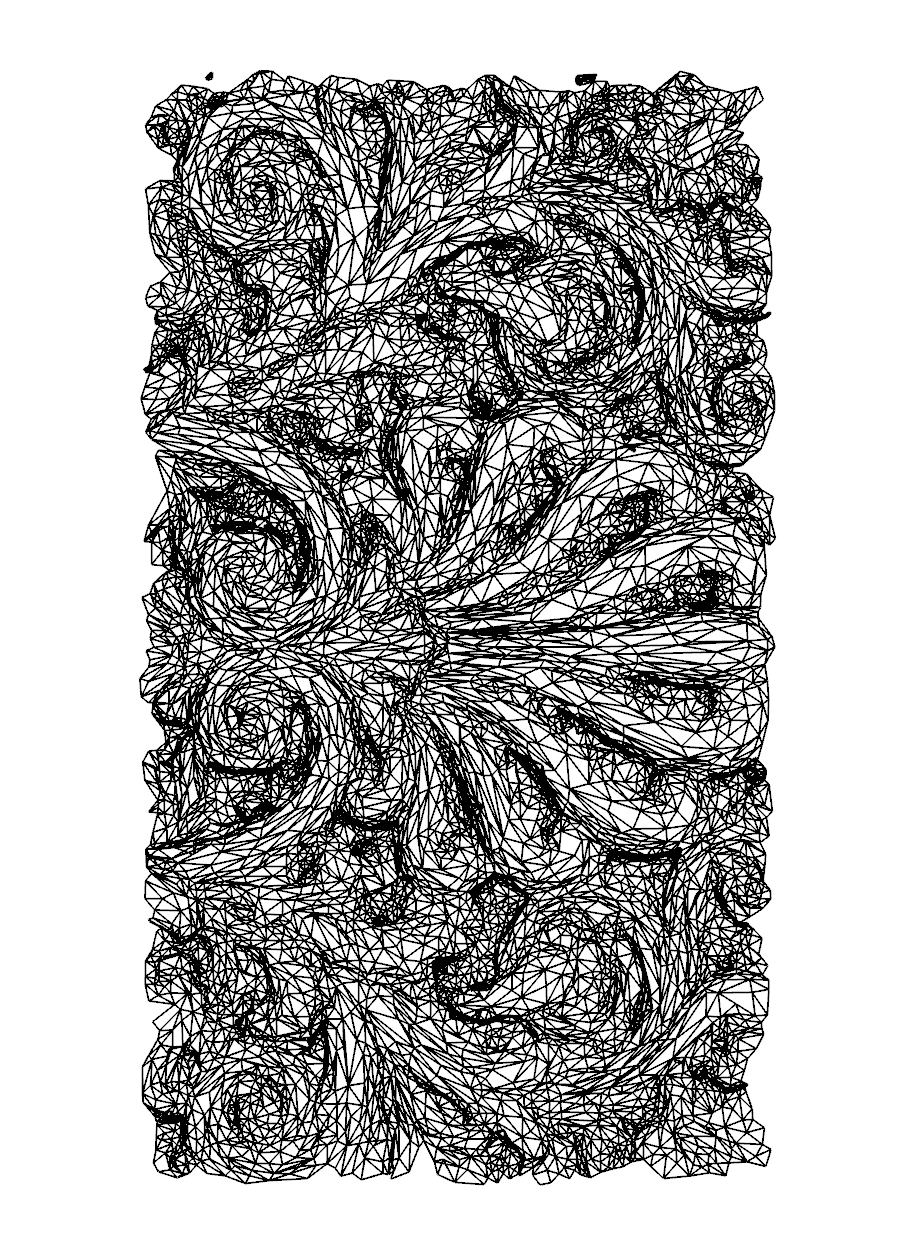
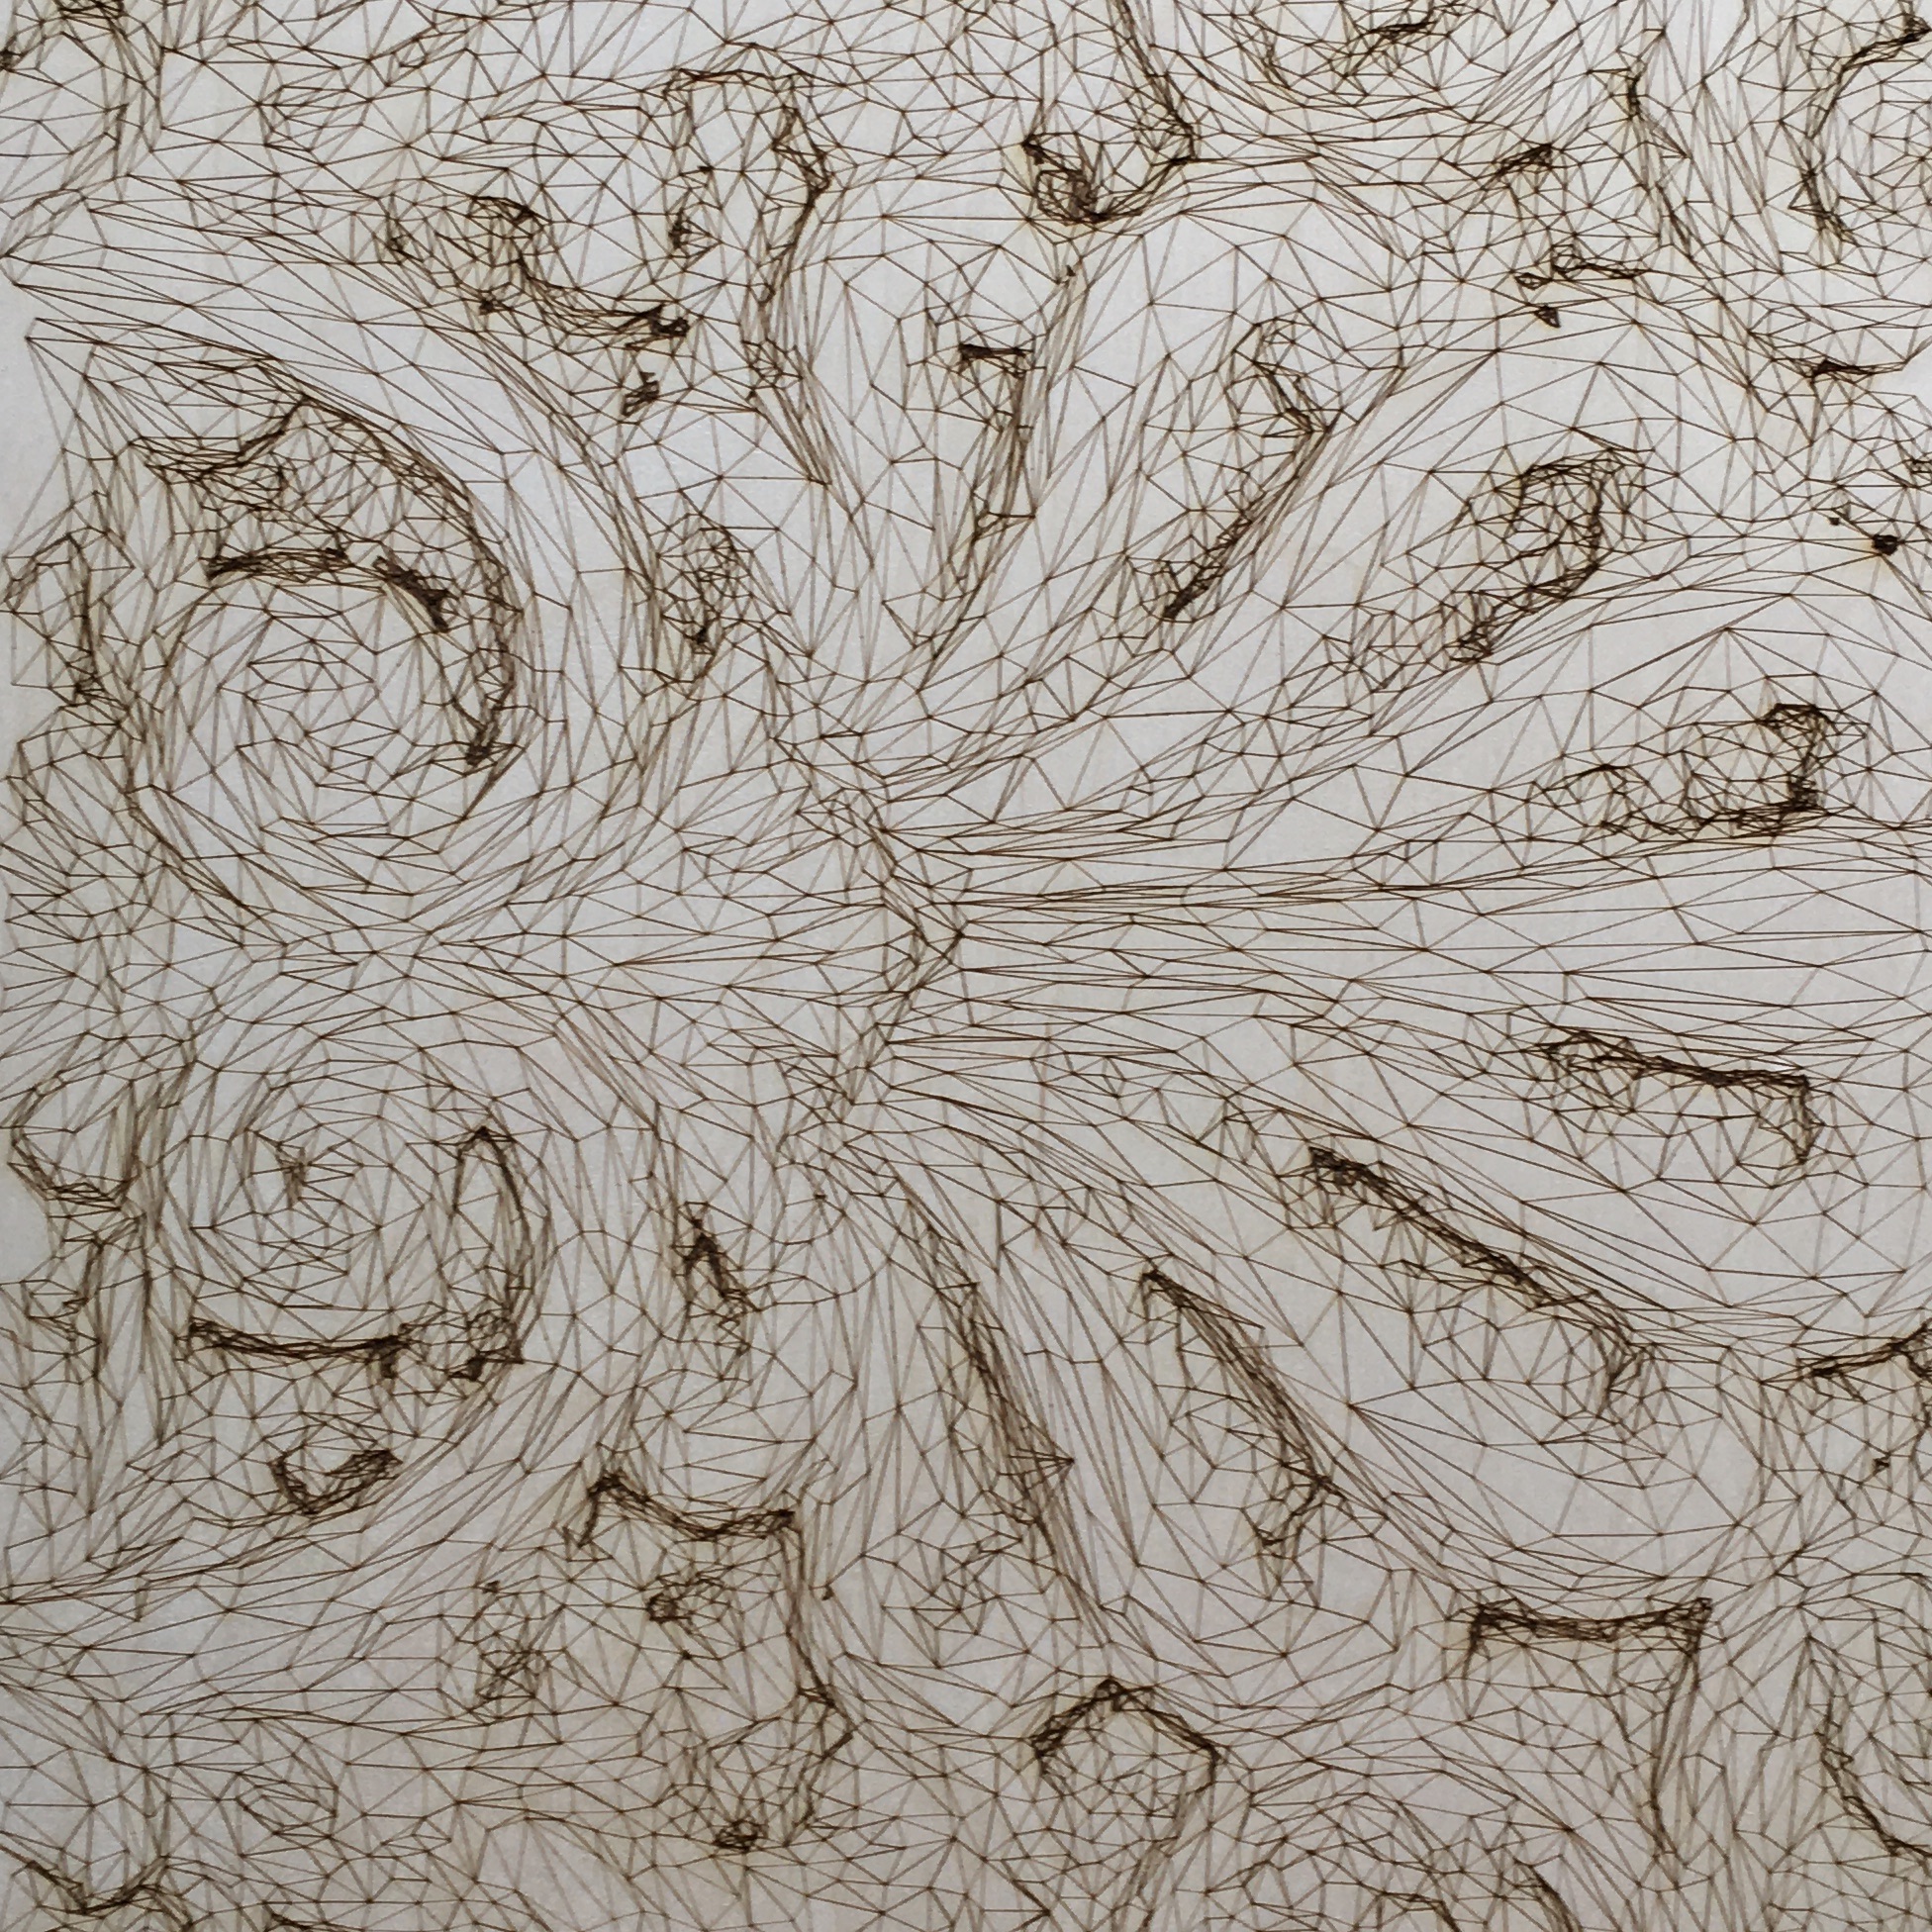
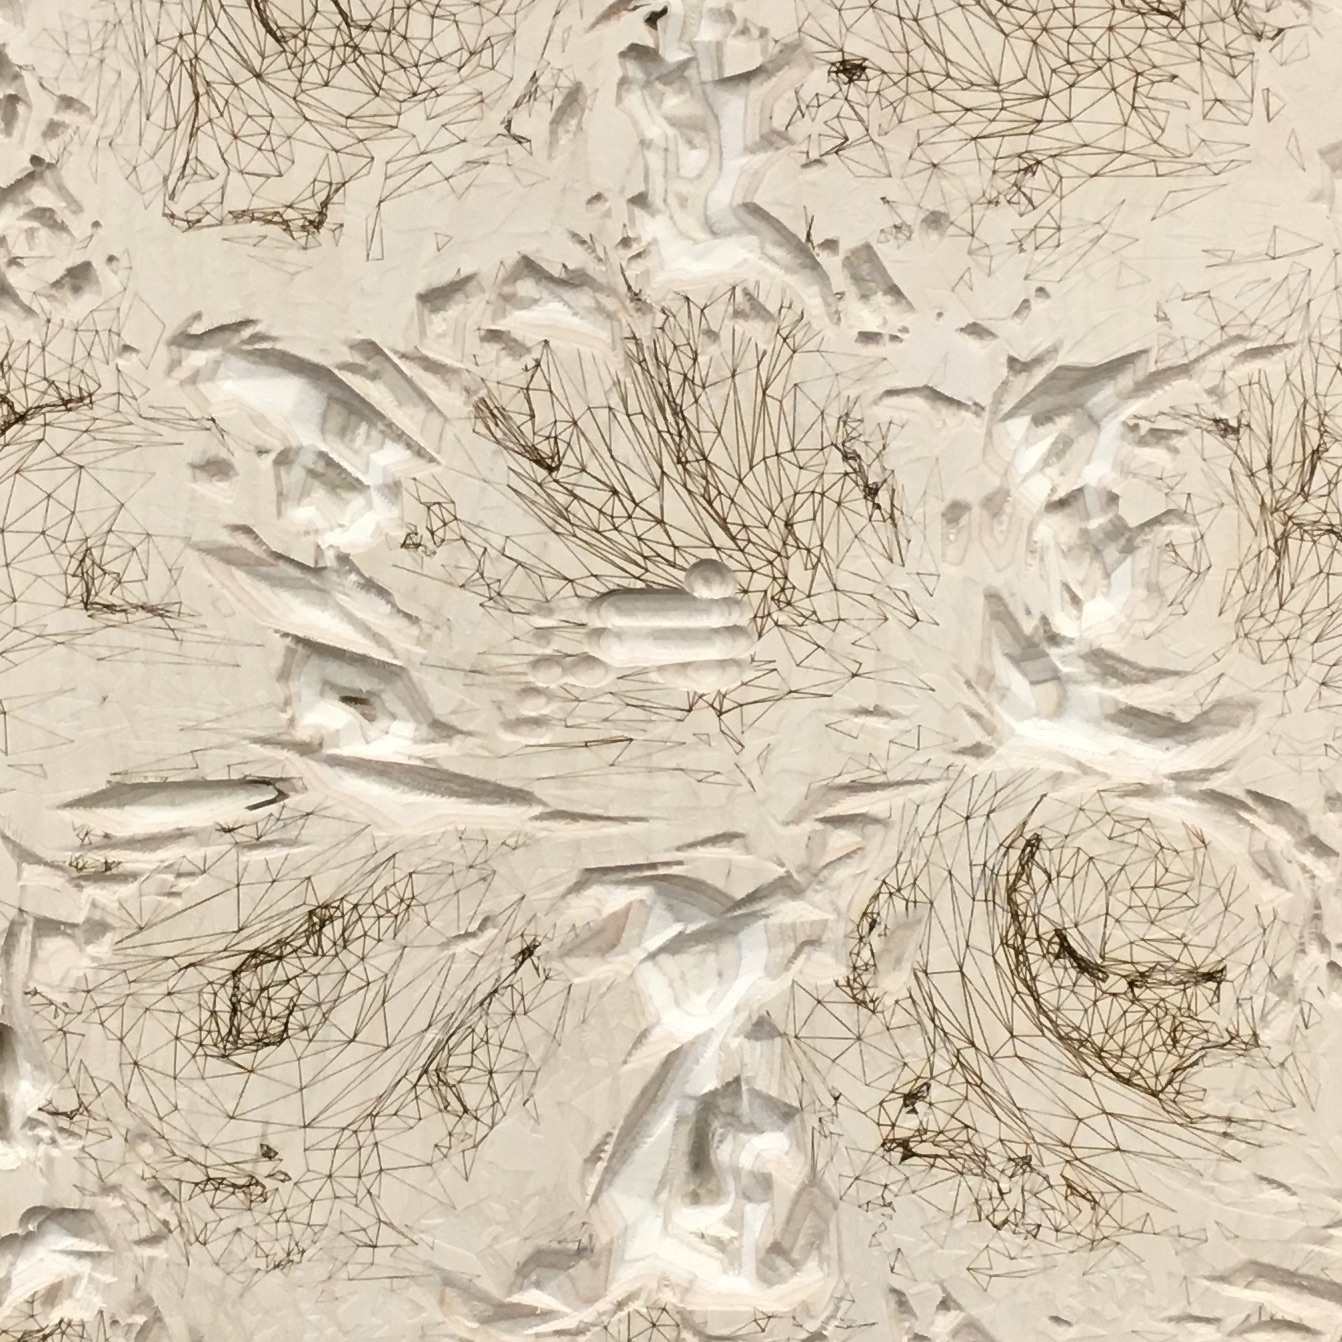
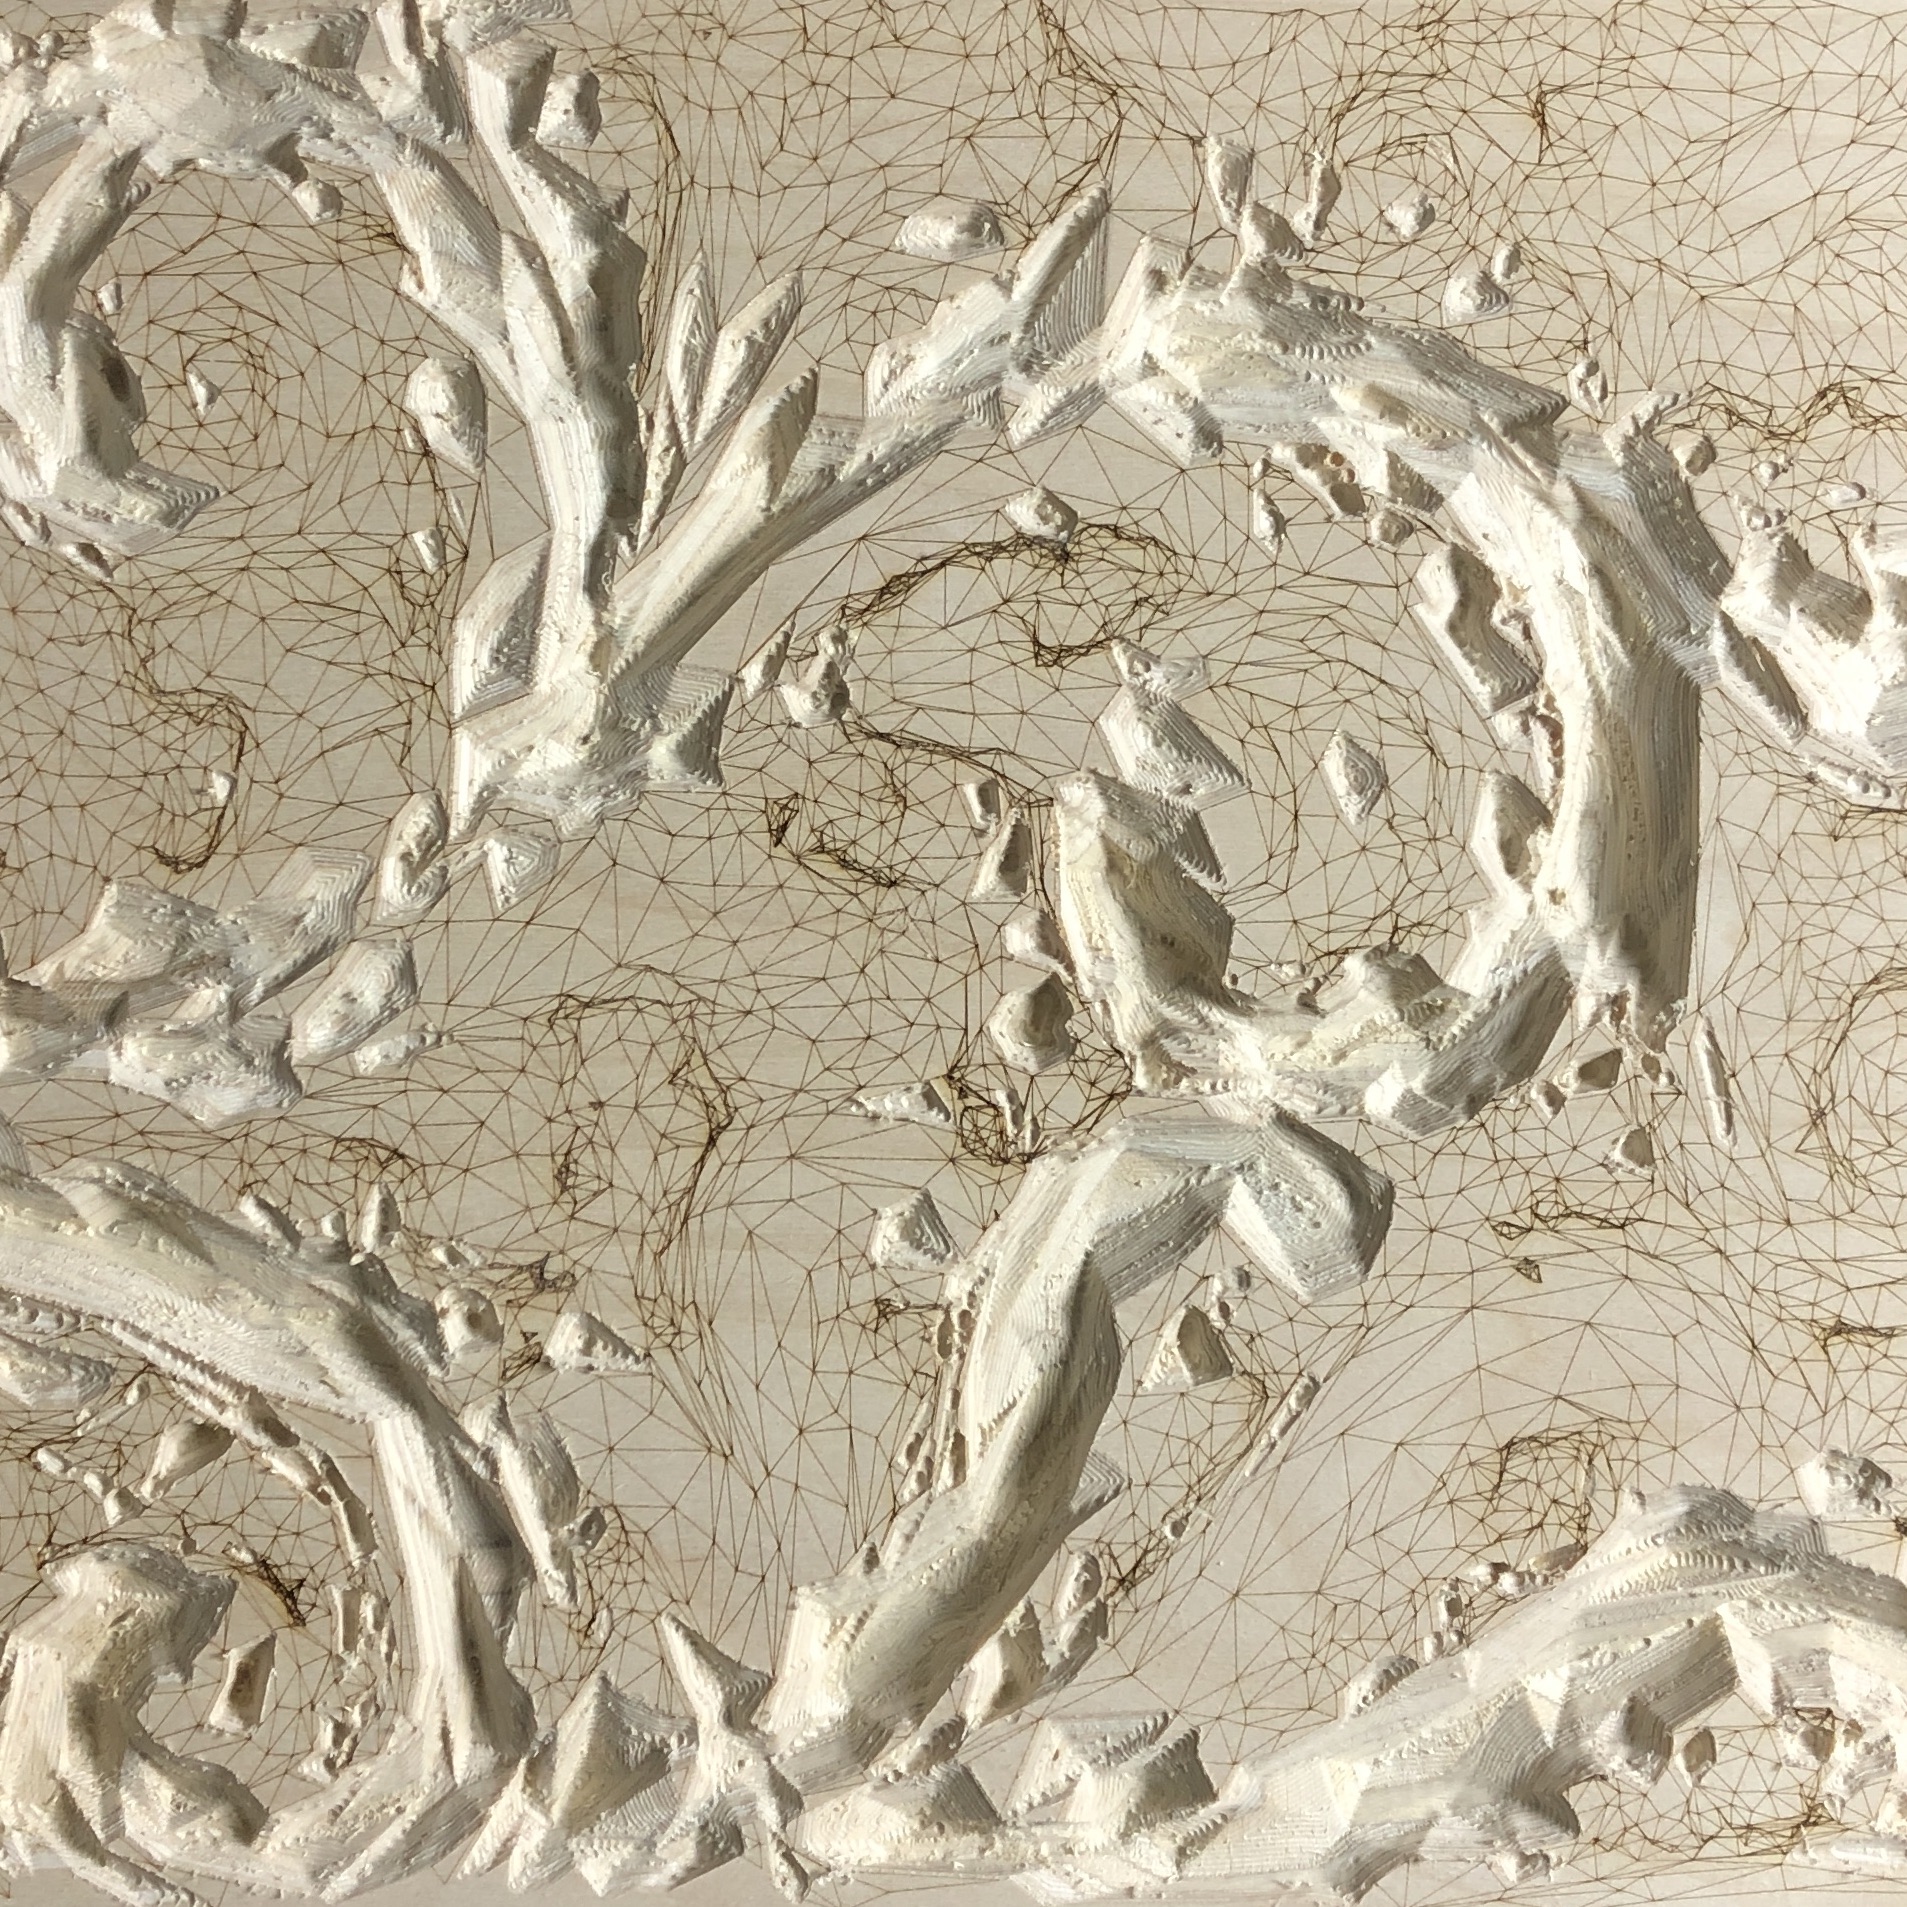
The scanned ornament is digitally represented as a mesh, a collection of vertices and faces to make an approximation of the original shape with planar polygons. If seen straight from above, the mesh and the projection of the mesh onto the XY-plane should be no different in their appearance. Hence, a 3-dimensional shape, could be represented using 2-dimensional lines only.
Method
The scanned ornament is imorted into Rhinoceros3D and reduced using the ”ReduceMesh” command. Simlifying the geometry makes it more practical to work with in the 3D-environment and helps diminishing fabrication time. The reduced mesh is referenced into grasshopper and projected onto the XY-plane using MeshShadow. Each face is represented by a planar polyline. To avoid printing duplicate lines, the polylines are exploded and cleaned using ”RemoveDuplicateLines”.
Result and discussion
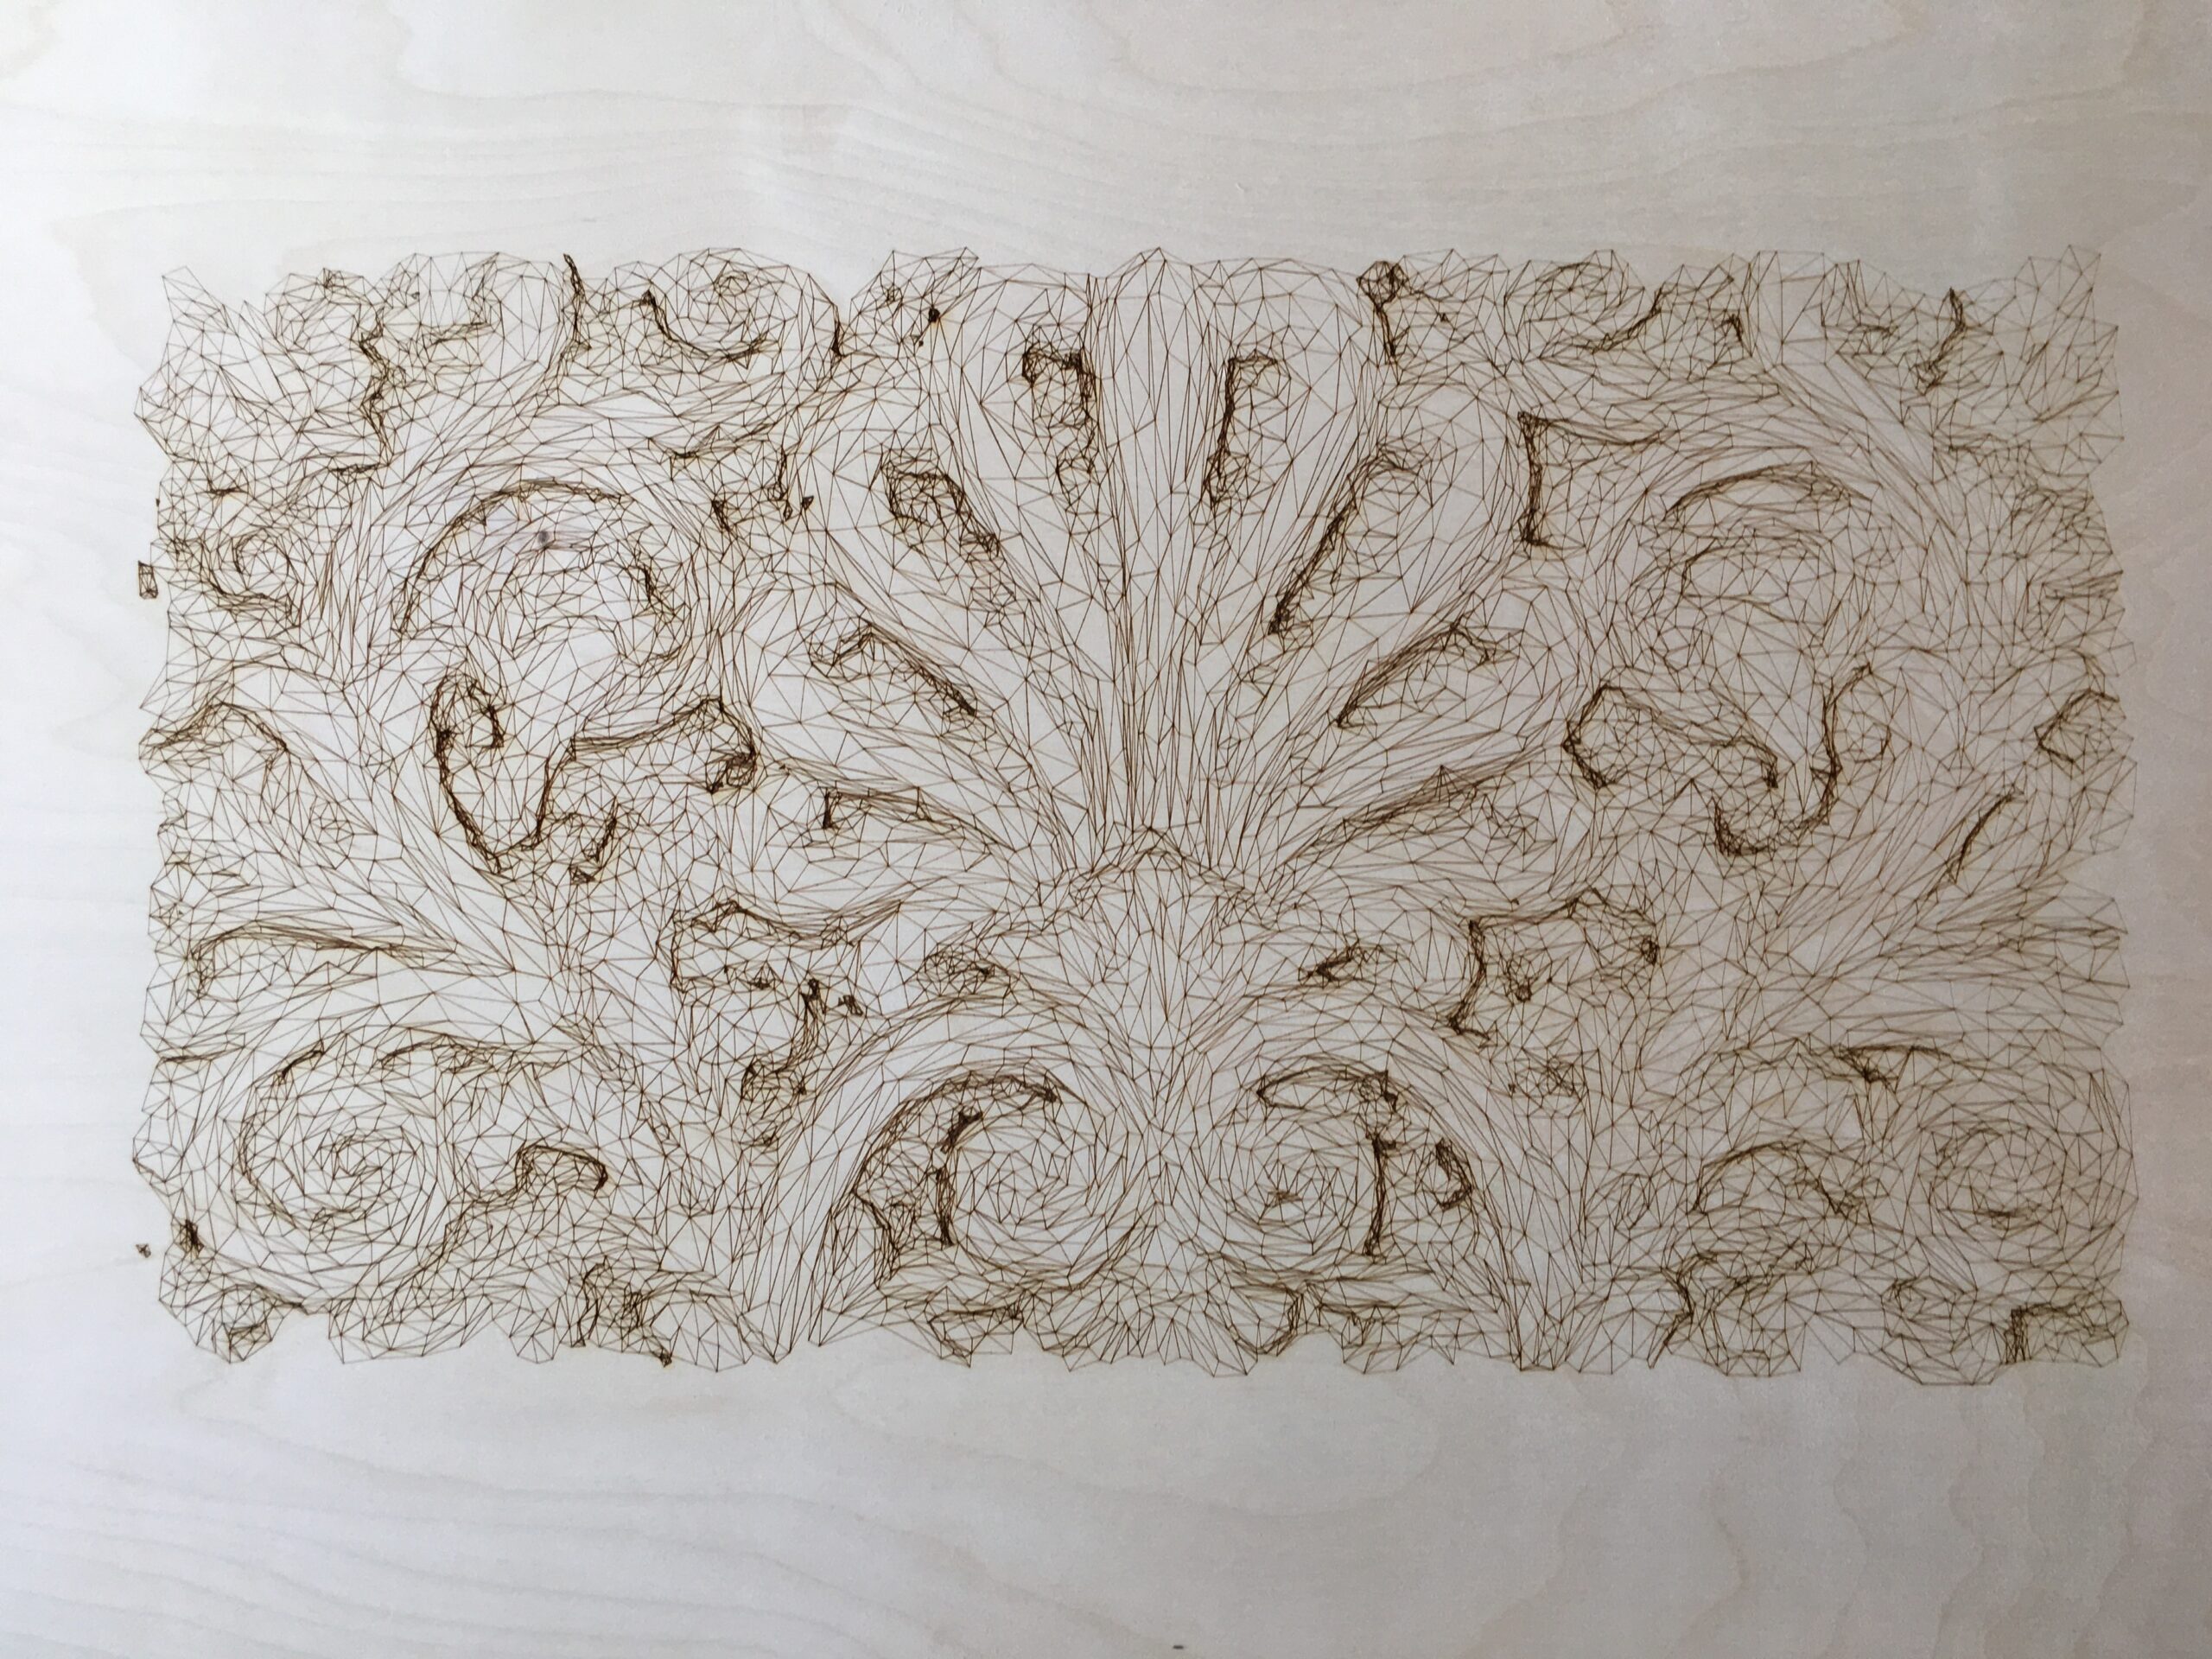
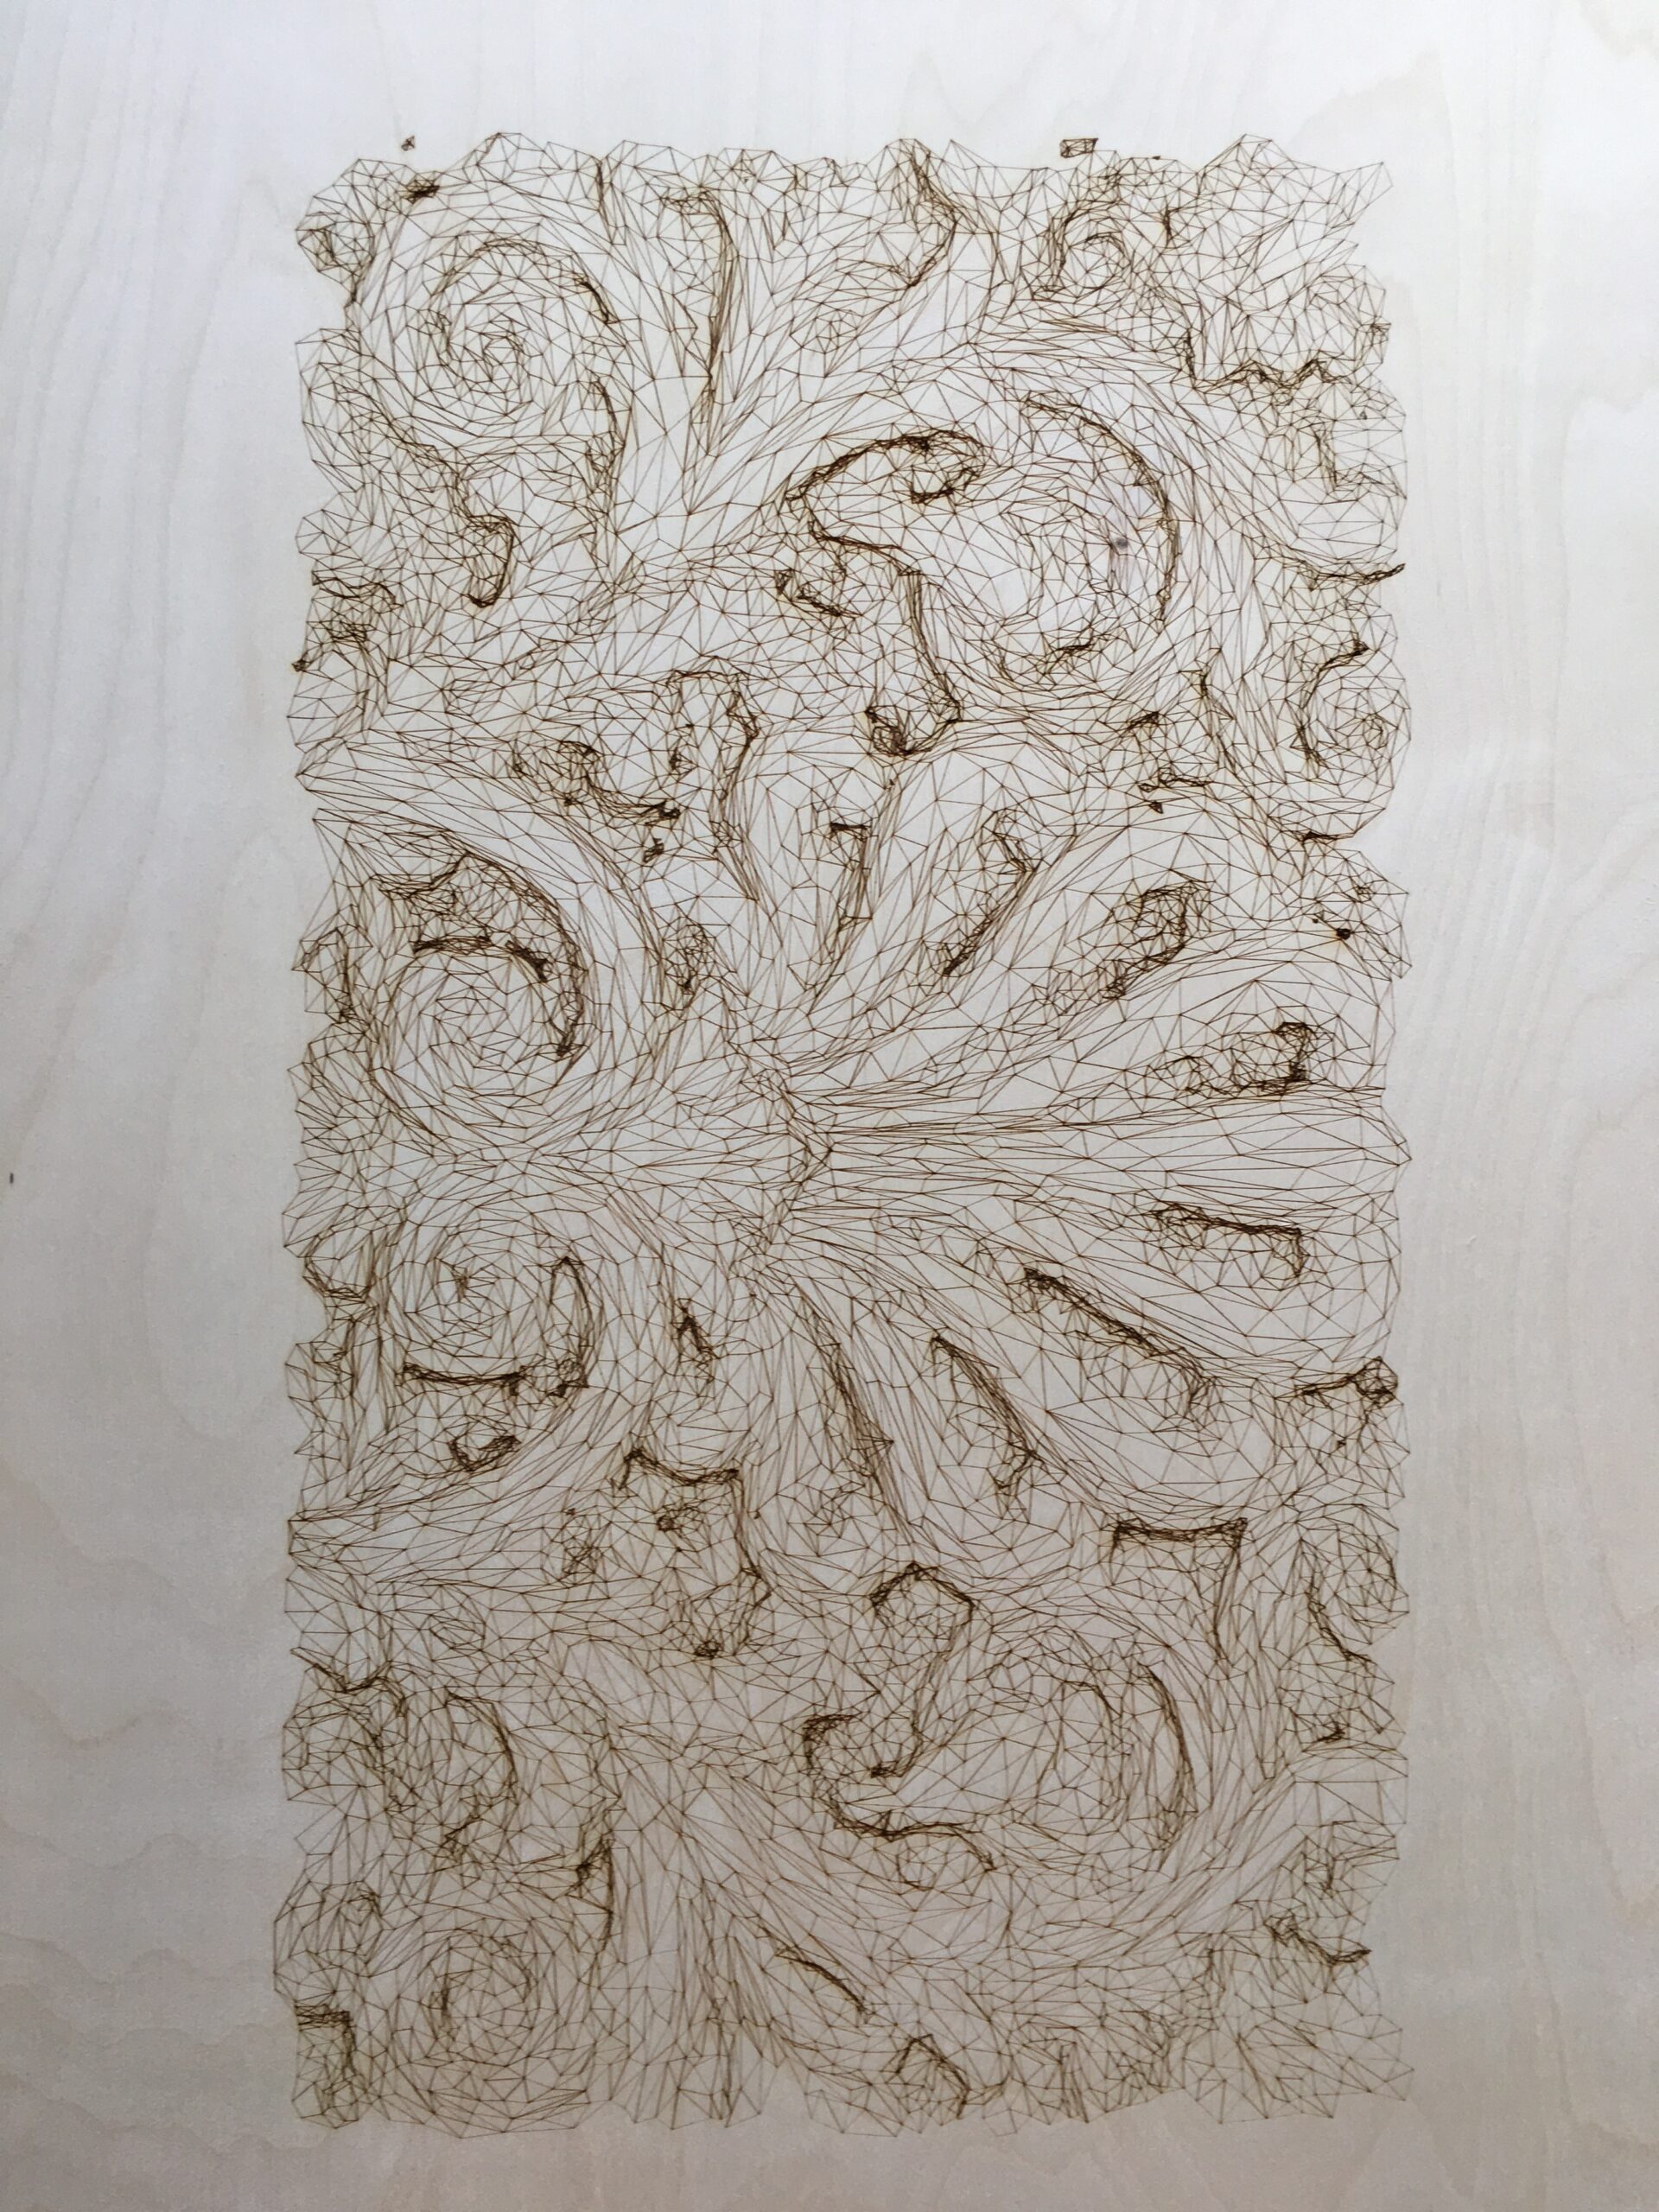
This iteration resulted in a plywood sheet with the digital representation of the ornament printed on top. The high density of lines that occur where the original mesh had a great change of depth strengthens the 3-dimensional expression. This effect could be further investigated by, for example, using different settings in the laser cutter or use different values when reducing the original mesh. I think that, to a certain extent, the original hypothesis held true. However, there is obviously no ability for a 2d-drawing to cast shadows and so the 3d-effect is static rather than dynamic I would say. This kind of ornament would perhaps be most suitable in a setting where light conditions do not change.
